How to Prepare Outdoor Gear Before Storage: Complete Guide |
| HOW TO PREPARE OUTDOOR GEAR BEFORE PUTTING IT IN STORAGE
⏱ 14 min read ·
📄 #2,604 words
Learn the exact steps to clean, dry, and store outdoor gear properly. Prevent mold, rust, and damage with this expert prep checklist for tents, packs, and more.
|
C lean every item thoroughly, dry it completely for 24 to 48 hours, repair any damage, then store in a cool, dry space with good airflow. This four-step sequence prevents the mold, corrosion, and material breakdown that ruins outdoor equipment during off-season storage. Skipping any step, particularly drying, leads to 60 to 80 percent of storage-related gear failures according to industry repair data.
| Key Points: | |
|---|---|
| • | Gear must be 100% dry before storage; even slight dampness causes mold within 48 to 72 hours |
| • | Store sleeping bags and insulated items uncompressed to preserve loft and warmth ratings |
| • | Climate-controlled storage maintaining 55 to 70 degrees Fahrenheit extends gear lifespan by 3 to 5 years |
| • | Complete cleaning and inspection takes 2 to 4 hours for a full camping kit |
| • | Repair costs increase 200 to 400 percent when small damage is left untreated over a storage season |
Why Proper Gear Preparation Matters in Colorado
Crested Butte and the Gunnison Valley experience temperature swings from 90 degrees Fahrenheit in summer to minus 20 degrees Fahrenheit in winter. These extremes accelerate material degradation in unprepared gear. Moisture trapped in fabric fibers expands when frozen, breaking down waterproof coatings and weakening seams.
According to MSR's gear care research, properly maintained outdoor equipment lasts 8 to 12 years, while neglected gear typically fails within 3 to 4 seasons. The investment in preparation time pays dividends when your tent still sheds water and your sleeping bag still keeps you warm years later.
Local outdoor enthusiasts face unique challenges. Red dirt from mountain trails, pine sap from backcountry campsites, and salt from sweaty hikes all require specific cleaning approaches. Generic storage advice often misses these regional considerations.
The Complete Four-Step Preparation Process
Step 1: Empty and Inventory Everything
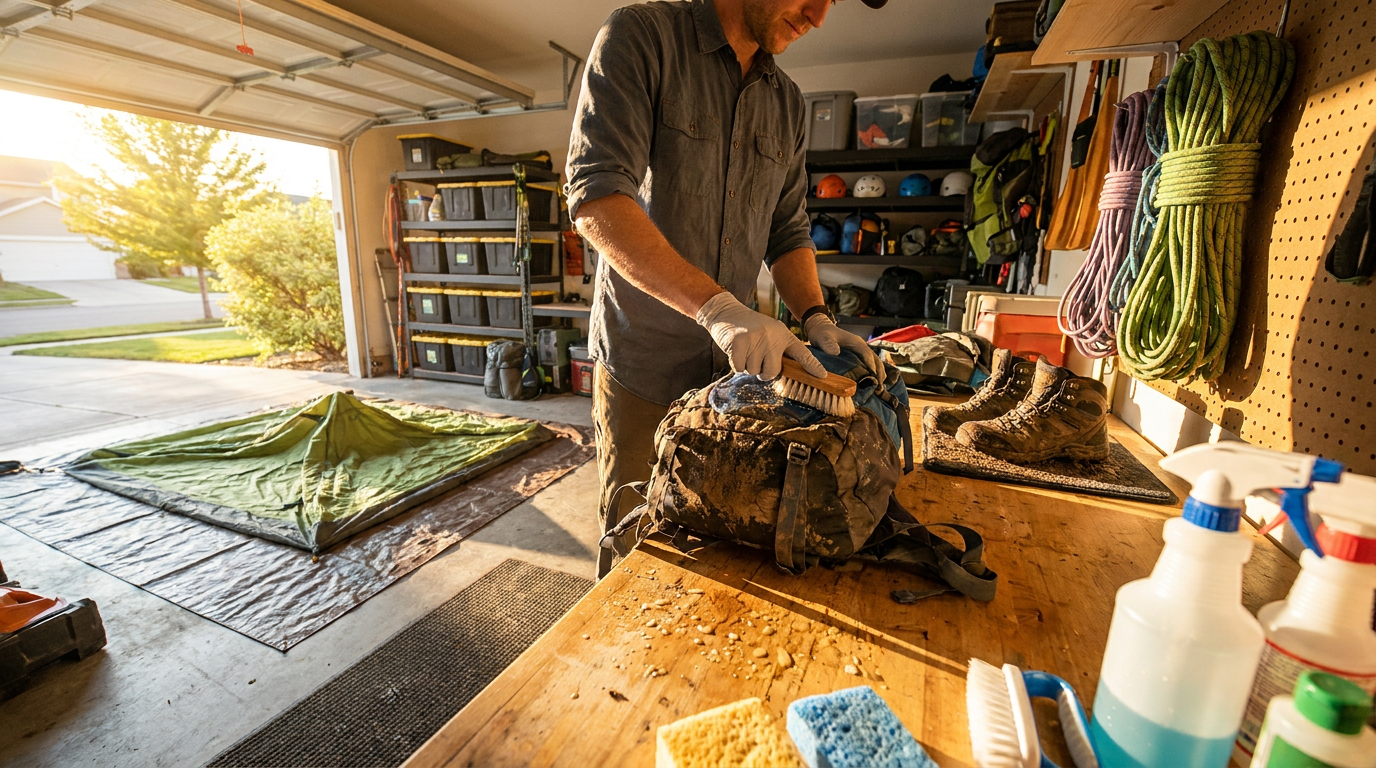
Remove all contents from packs, pockets, and compartments before doing anything else. This step takes 15 to 30 minutes but prevents the most common storage disasters. Food crumbs attract rodents. Forgotten batteries leak corrosive acid. Fuel canisters pose fire hazards.
Create a simple inventory as you empty each item. A basic spreadsheet or handwritten list helps you track what needs repair, what needs replacement, and what you actually own. Many outdoor enthusiasts discover duplicate items or realize they are missing critical components during this process.
Check these commonly overlooked spots: hip belt pockets, hydration bladder compartments, tent vestibule pockets, sleeping bag stuff sack bottoms, and the mesh lids of backpacks. Remove batteries from headlamps, GPS units, and any electronic devices.
Step 2: Clean Every Surface Thoroughly
Cleaning requirements vary by material and gear type. Using the wrong cleaner or method damages technical fabrics and waterproof membranes. The table below outlines specific approaches for common outdoor equipment categories.
| Gear Type | Cleaning Method | Products to Avoid | Drying Time |
|---|---|---|---|
| Tents and Tarps | Sponge with mild soap, rinse thoroughly | Detergent, bleach, fabric softener | 24 to 48 hours |
| Sleeping Bags (Down) | Front-load washer with Nikwax Down Wash | Regular detergent, top-load agitators | 4 to 8 hours with tennis balls |
| Sleeping Bags (Synthetic) | Front-load washer with Tech Wash | Fabric softener, high heat | 2 to 4 hours |
| Backpacks | Hand wash with mild soap, scrub straps | Machine washing, harsh chemicals | 24 to 36 hours |
| Hiking Boots | Brush off dirt, wipe with damp cloth | Submerging, heat sources, direct sun | 24 to 48 hours |
| Cookware | Hot water, dish soap, thorough rinse | Abrasive scrubbers on non-stick | Air dry completely |
For stubborn pine sap common on Crested Butte trails, apply rubbing alcohol to a cloth and dab the affected area. Do not rub aggressively on waterproof fabrics. Mineral oil works for removing sap from metal poles and cookware.
Step 3: Dry Everything Completely
This step cannot be rushed. Gear that feels dry to the touch often retains moisture in seams, padding, and layered materials. Mold spores germinate within 24 to 48 hours in damp conditions, according to the Environmental Protection Agency's mold prevention guidelines.
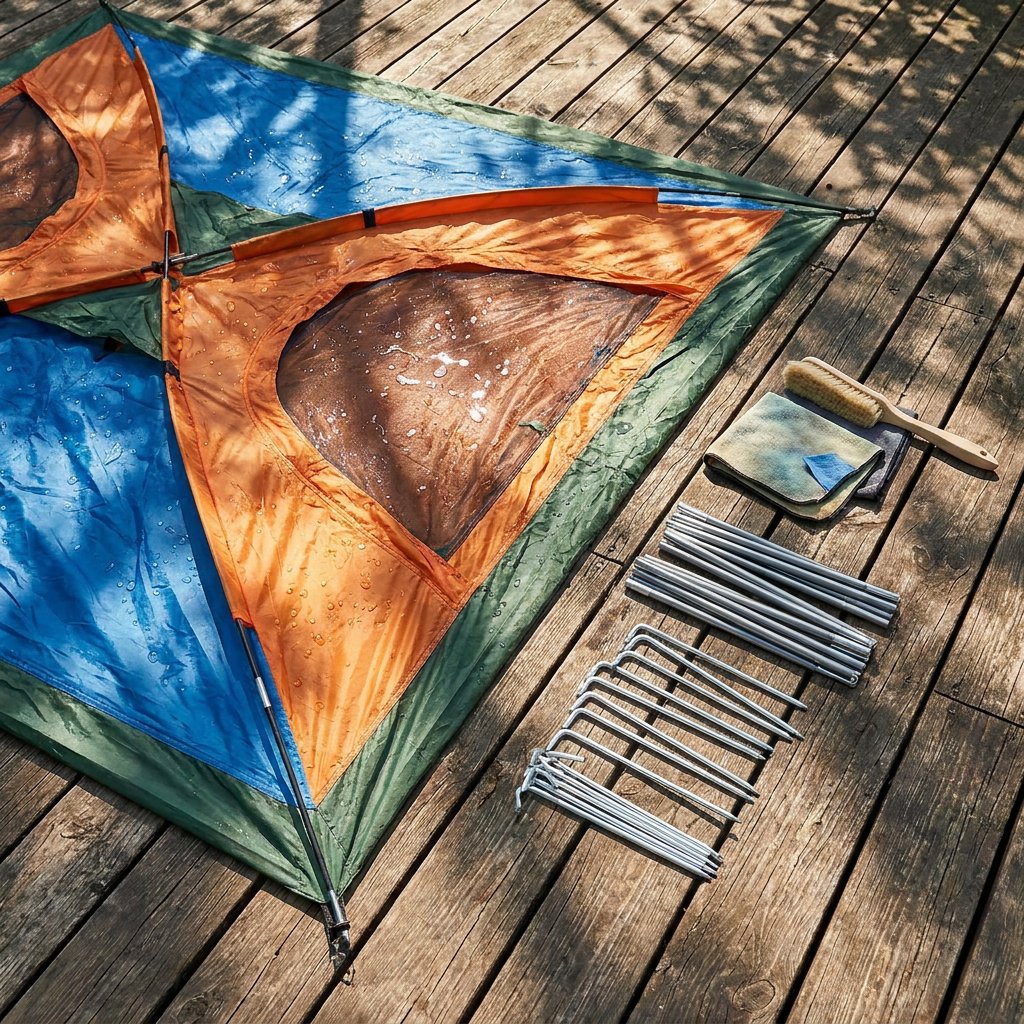
Set up tents fully indoors or in shade outdoors for drying. Direct sunlight degrades nylon and polyester over time. Flip the tent inside out after 12 hours to dry the floor side. Check all guyline attachment points and zipper tracks, which trap moisture.
Hang sleeping bags by the foot end in a dry, ventilated space. Down bags may need 2 to 3 days to dry completely after washing. Squeeze sections gently to check for damp clumps. Never store a sleeping bag that feels even slightly cool to the touch.
Remove insoles from boots and stuff with newspaper to absorb moisture. Replace the newspaper every 6 to 8 hours until completely dry. This process typically takes 24 to 48 hours for leather boots and 12 to 24 hours for synthetic trail runners.
Step 4: Inspect and Repair Before Storage
Small problems become expensive failures when left unaddressed. A tiny tent seam separation costs $15 to $25 to repair now but requires full panel replacement at $75 to $150 after a season of moisture intrusion. The repair timeline below helps prioritize what needs attention.
Check tent seams by holding fabric up to light. Any visible light means the seam tape has failed. Apply seam sealer like Gear Aid Seam Grip to affected areas. Allow 8 to 12 hours to cure before folding.
Inspect zippers for bent teeth, fabric caught in tracks, and slider wear. Lubricate metal zippers with a wax-based lubricant. Replace sliders showing visible wear; most outdoor retailers stock universal replacement parts.
Test sleeping pad valves by inflating and leaving overnight. Any noticeable deflation indicates a leak requiring patching. Mark leak locations with a permanent marker before deflating for repair.
Gear-Specific Storage Requirements
Tents, Tarps, and Shelters
Never store tents in their stuff sacks long-term. The compression breaks down waterproof coatings and stresses seam tape. Instead, loosely fold or roll the tent and store in a large breathable cotton or mesh bag. Hang if possible.
Store poles separately from fabric to prevent punctures. Wipe aluminum poles with a dry cloth and check shock cord tension. Frayed or stretched shock cord should be replaced before storage; replacement kits cost $8 to $15 and take 30 minutes to install.
Keep stakes in a separate container. Remove any dirt buildup that could scratch tent fabric during transport. Lightly oil steel stakes to prevent rust.
Sleeping Bags and Insulated Gear
Compression destroys insulation over time. Down clusters break and lose loft permanently. Synthetic fibers develop memory and fail to expand fully. Sea to Summit's product care guidelines recommend storing sleeping bags in large cotton storage sacks or hanging them in closets.
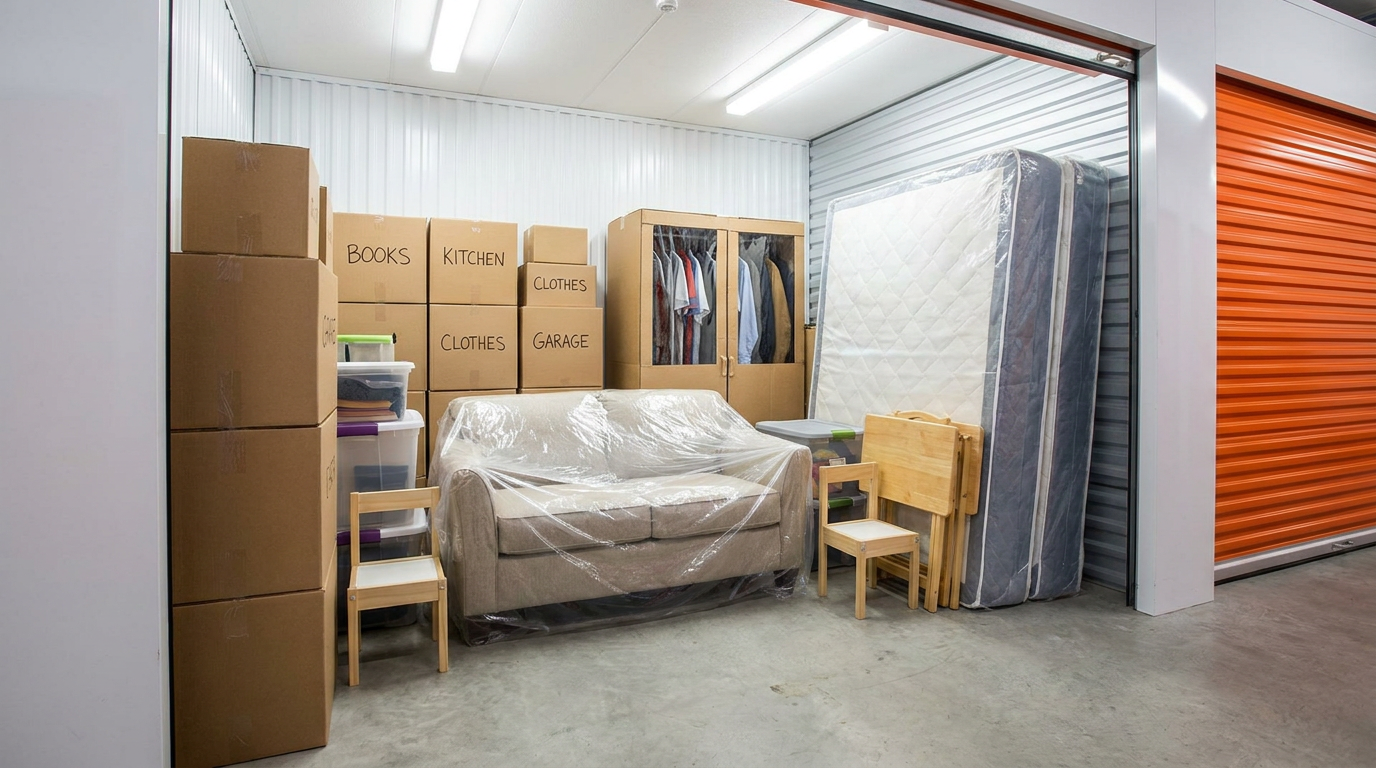
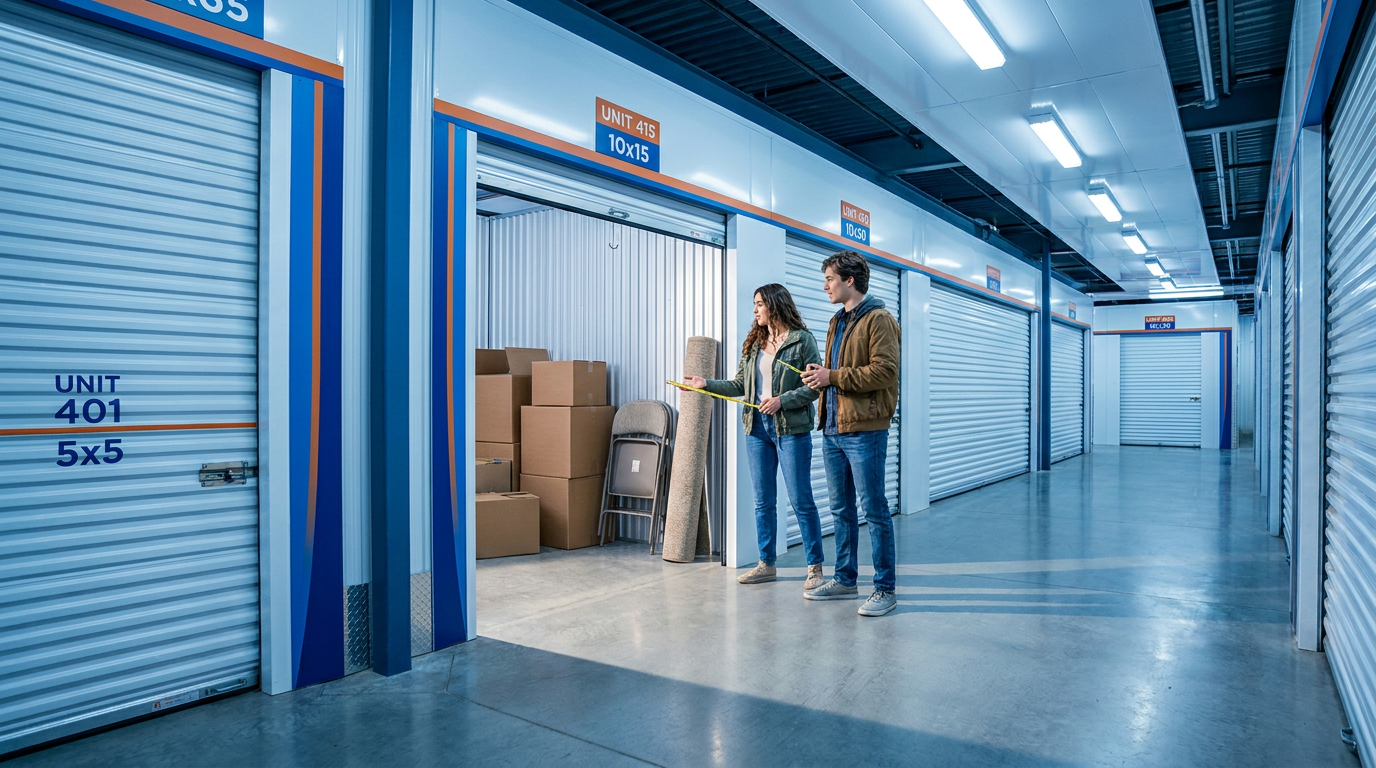
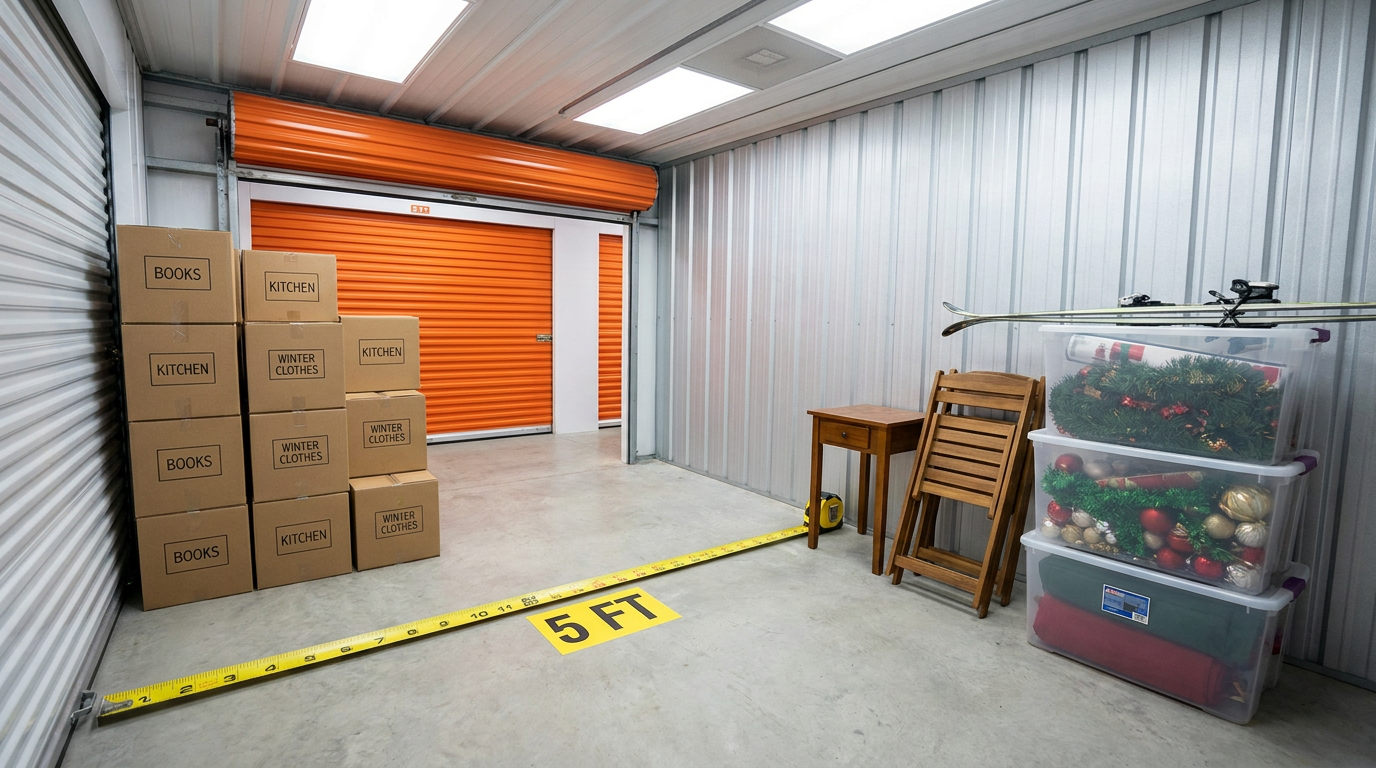
If closet space is limited, consider a storage unit size guide to find space that accommodates hanging or loosely stored insulated items. Even a 5x5 unit provides enough room to hang multiple sleeping bags and store gear without compression.
Insulated jackets follow the same rules. Hang on wide hangers or fold loosely in breathable bags. Never vacuum seal down products.
Backpacks and Soft Goods
Store backpacks with all straps loosened and buckles unfastened. This prevents permanent creasing in foam padding and strap webbing. Stuff the main compartment loosely with acid-free tissue paper to maintain shape.
Hang packs by the haul loop if possible. Floor storage works if the area stays dry and elevated. Avoid concrete floors, which transfer moisture and cold. Use a pallet, shelf, or storage rack.
Check all buckles, clips, and adjustment hardware. Replace any cracked plastic components before storage. Most manufacturers sell replacement parts, and universal buckles are available from brands like Duraflex and ITW Nexus.
Footwear Storage
Boots and trail shoes need airflow during storage. Sealed plastic bins trap moisture and cause mildew, odor, and adhesive breakdown. Use open shelving, breathable fabric bags, or original boxes with ventilation holes.
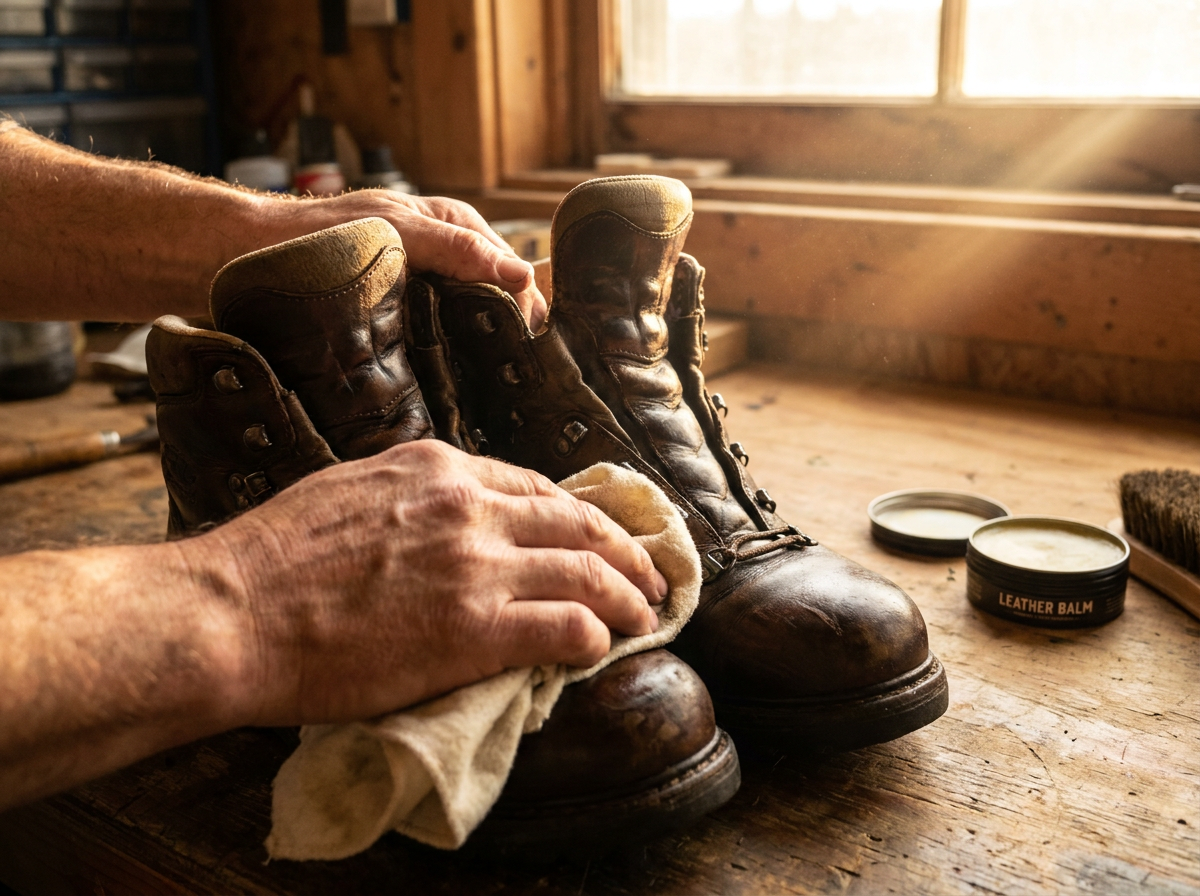
Apply leather conditioner to full-grain leather boots after cleaning. Nikwax and Granger's both make appropriate products. Synthetic boots benefit from a light application of silicone-based waterproofing spray.
Insert cedar shoe trees or crumpled newspaper to maintain shape and absorb residual moisture. Replace newspaper monthly during long-term storage.
Cookware and Camp Kitchen
Residual food oils go rancid and attract pests. Clean all cookware thoroughly with hot soapy water, even items that appear clean. Dry completely before nesting or stacking.
Store stoves without fuel canisters. Empty liquid fuel bottles completely and store with caps loosened to prevent pressure buildup. Keep fuel in a separate, well-ventilated location away from living spaces.
Water filters require special attention. Follow manufacturer instructions for long-term storage. Most recommend drying completely or storing with a diluted bleach solution to prevent bacterial growth. Sawyer, Katadyn, and MSR each have specific protocols.
Choosing the Right Storage Environment
Temperature and Humidity Requirements
Outdoor gear performs best when stored at consistent temperatures between 55 and 70 degrees Fahrenheit with relative humidity below 50 percent. Temperature swings cause condensation that damages fabrics, metals, and adhesives.
Garages and sheds in the Crested Butte area experience temperature extremes that stress gear materials. A heated storage facility maintains consistent conditions that protect equipment through Colorado's harsh winters, where temperatures can drop to minus 20 degrees Fahrenheit.
Basements often have humidity problems. Use a hygrometer to monitor conditions. If humidity exceeds 50 percent, add a dehumidifier or choose a different storage location.
Ventilation and Airflow
Stagnant air promotes mold growth even in dry conditions. Storage areas need some air circulation. Avoid sealed plastic containers for soft goods. Wire shelving and open racks allow better airflow than solid shelves.
If using storage bins, choose ones with ventilation holes or leave lids slightly ajar. Label bins clearly to avoid opening and closing repeatedly, which introduces moisture and temperature changes.
Pest Prevention
Rodents chew through tent fabric, sleeping bag shells, and pack straps to access nesting materials. Insects damage natural fibers and leave waste that stains synthetic materials. Prevention requires multiple approaches.
Store all food and scented items separately from gear. This includes sunscreen, lip balm, and toiletries. Even empty food bags retain odors that attract pests.
Cedar blocks deter moths and some insects without the chemical residue of mothballs. Place blocks in storage bins and refresh every 6 to 12 months by lightly sanding the surface.
Elevate gear off the floor. Shelving or pallets create a barrier and make pest activity more visible. Check stored gear monthly for signs of intrusion.
Organization Systems for Easy Retrieval
Proper organization saves time before trips and prevents forgotten items. Extra Space Storage's recreational equipment guide recommends grouping gear by activity type: backpacking, car camping, day hiking, winter sports, and water activities.
Within each category, create subcategories: shelter, sleep system, kitchen, clothing, and accessories. This system lets you grab everything needed for a specific trip type without searching through unrelated items.
Label everything clearly. Use large, readable labels on bins and shelves. Create a master inventory list and post it in the storage area. Update the list when adding or removing items.
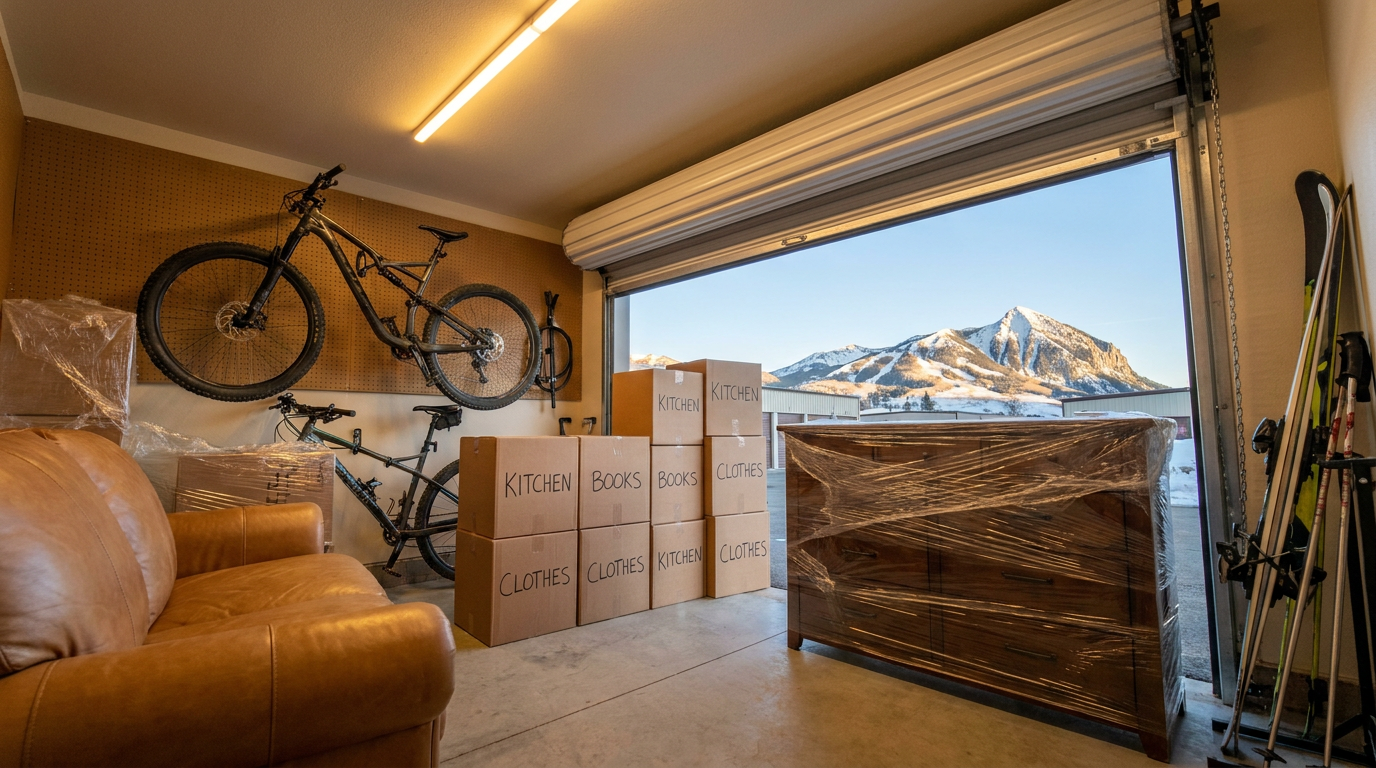
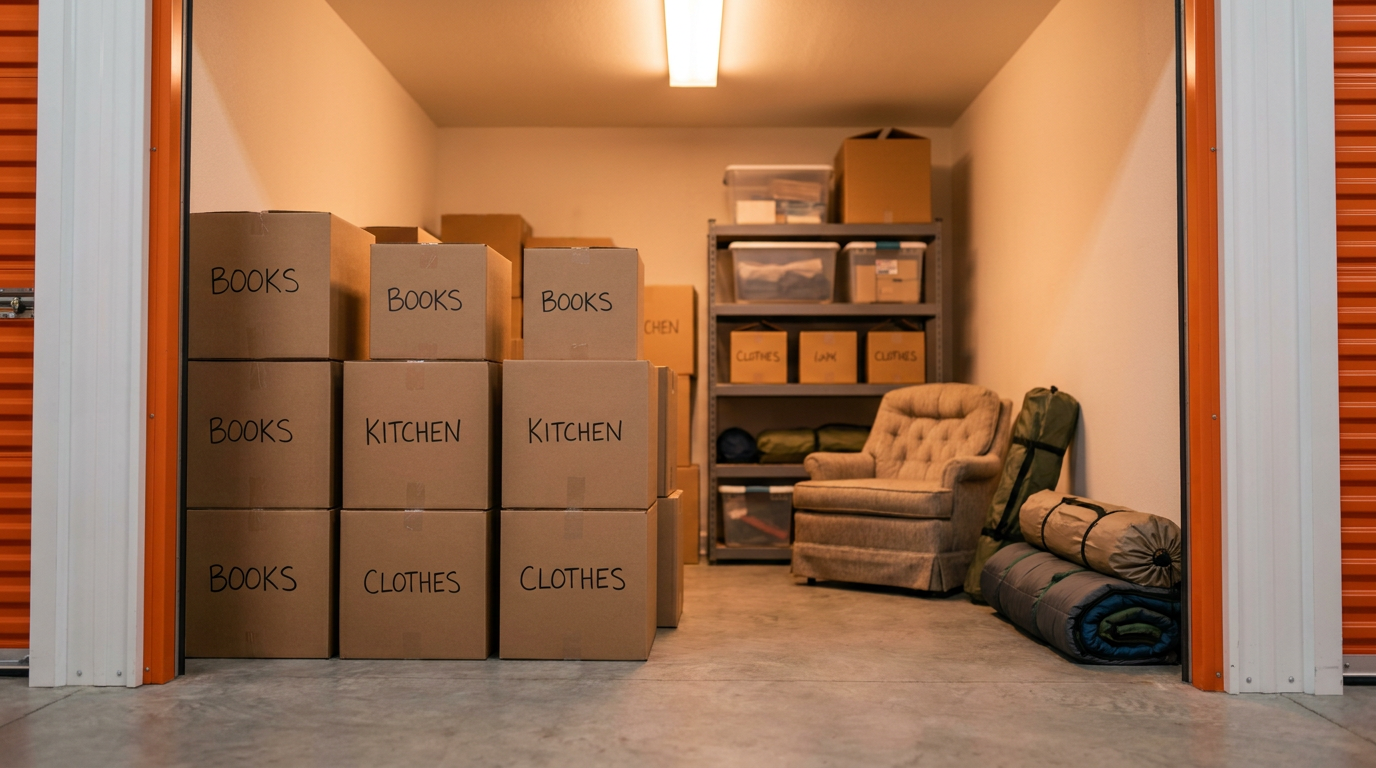
Consider vertical storage for frequently used items. Pegboards, wall hooks, and hanging organizers keep gear visible and accessible. Reserve floor and shelf space for seasonal items and bulk storage.
Common Mistakes That Destroy Gear
Storing Damp Items
This single mistake causes more gear failures than all other factors combined. Even 5 percent residual moisture creates conditions for mold growth within 48 hours. Mold damages fabric fibers, produces persistent odors, and poses health risks.
If you must store gear quickly, use a commercial drying service or rent a heated storage unit temporarily. The cost is far less than replacing damaged equipment.
Long-Term Compression
Sleeping bags lose 10 to 15 percent of their insulation value for every year stored compressed, according to down industry research. Synthetic insulation suffers similar degradation. A $400 sleeping bag becomes a $200 sleeping bag after two years of improper storage.
UV Exposure
Sunlight degrades nylon and polyester rapidly. Six months of direct sun exposure can reduce fabric strength by 50 percent. Store gear away from windows and skylights. Use opaque containers or cover gear with breathable fabric.
Chemical Exposure
Storing gear near gasoline, solvents, pesticides, or pool chemicals causes material breakdown. Fumes penetrate fabrics and damage waterproof membranes. Keep outdoor gear in separate areas from household chemicals.
Seasonal Storage Checklist
Use this checklist before putting gear away for the season. Print it and check off items as you complete each task.
Before Cleaning:
- Empty all pockets, compartments, and stuff sacks
- Remove batteries from all electronic devices
- Dispose of expired food, fuel, and toiletries
- Create or update gear inventory
Cleaning:
- Wash tents with mild soap and water
- Launder sleeping bags per manufacturer instructions
- Hand wash backpacks and let air dry
- Clean and condition footwear
- Wash all cookware thoroughly
Drying:
- Allow 24 to 48 hours minimum drying time
- Check seams, pockets, and padding for moisture
- Verify sleeping bags are completely dry before storage
Inspection and Repair:
- Check tent seams and apply sealer as needed
- Test zippers and lubricate if necessary
- Inspect sleeping pad for leaks
- Replace worn buckles and hardware
- Note items needing professional repair
Storage:
- Store sleeping bags uncompressed
- Loosely fold or hang tents
- Use breathable containers for soft goods
- Elevate gear off concrete floors
- Add cedar blocks for pest prevention
- Label all containers clearly
When Professional Storage Makes Sense
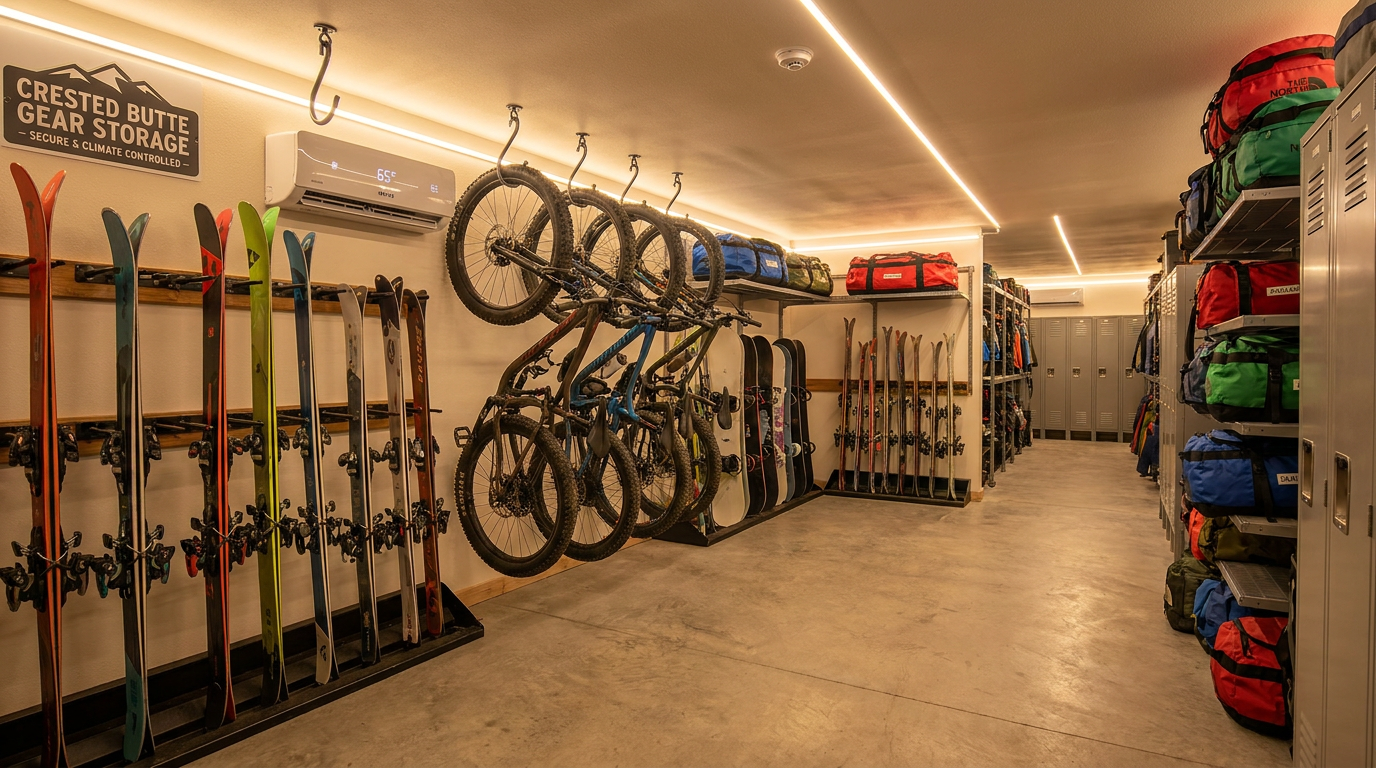
Home storage works for some outdoor enthusiasts, but many Crested Butte residents face space constraints. Condos, apartments, and smaller homes lack dedicated gear rooms. Seasonal residents need secure storage during months away.
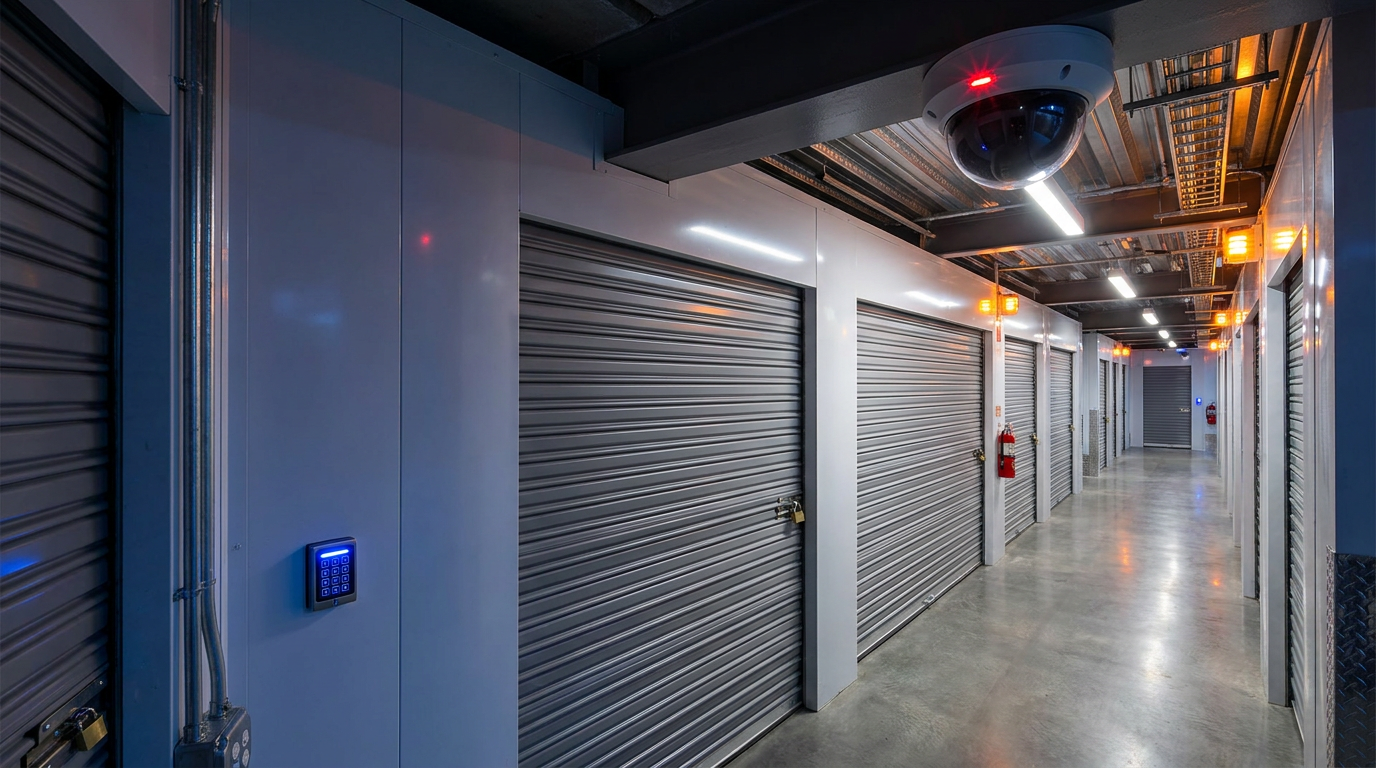
A tenant protection plan covers stored gear against theft, fire, and water damage, providing peace of mind for expensive equipment. Climate-controlled units maintain the consistent temperature and humidity levels that protect technical fabrics and insulation.
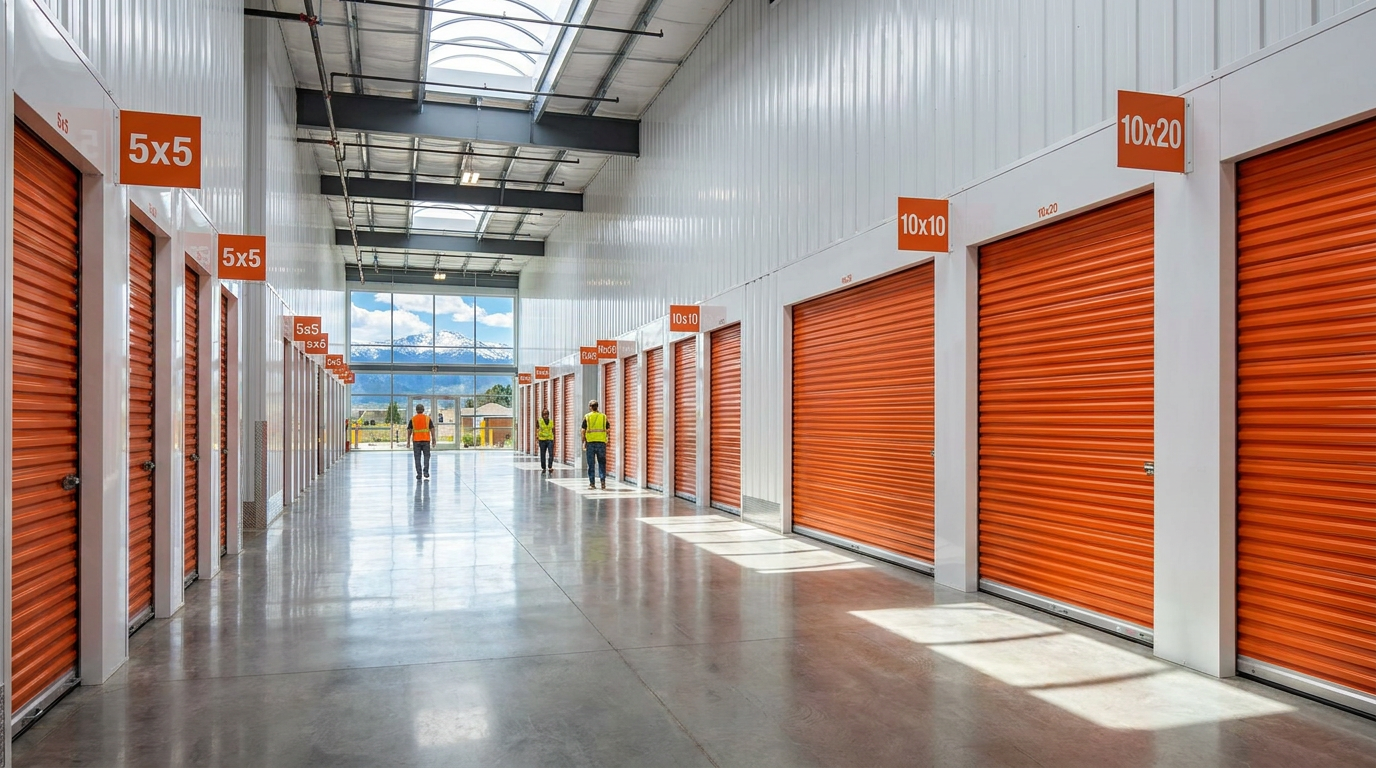
Drive-up access simplifies loading and unloading bulky items like kayaks, bikes, and ski equipment. No elevators or hallways mean faster trips and less handling damage.
For questions about storing outdoor gear or finding the right unit size, contact the storage team for personalized recommendations based on your specific equipment and access needs.
Frequently Asked Questions
How do I organize all the small outdoor gear I accumulate?
Use clear plastic bins with dividers for small items like headlamps, multi-tools, fire starters, and repair kits. Label bins by category: lighting, navigation, repair, hygiene, and first aid. Pegboards with hooks work well for items you access frequently. Create a master checklist for each activity type so you can quickly verify nothing is missing before trips.
How do I keep clothes from going bad in a storage unit?
Wash all clothing before storage to remove body oils and dirt that attract pests and cause odors. Dry completely for 24 hours minimum. Store in breathable cotton bags or acid-free boxes, not plastic bins that trap moisture. Add cedar blocks or lavender sachets for pest deterrence. Climate-controlled storage prevents the temperature extremes that damage elastic and synthetic fibers.
How do I pack outdoor gear efficiently?
Group items by trip type and use consistent container sizes that stack well. Place heavy items on the bottom and fragile items on top. Use the space inside boots, pots, and helmets for small items. Create a loading order list so frequently accessed items stay near the front. Vertical dividers in bins prevent items from shifting and tangling.
How do I prepare items for storage?
Follow the four-step process: empty and inventory, clean thoroughly, dry completely, then inspect and repair. The specific cleaning method depends on the item material. Allow adequate drying time, typically 24 to 48 hours for most gear. Address any damage before storage to prevent worsening. Store in appropriate conditions with consistent temperature, low humidity, and good airflow.
|